 I’m convinced that finding the “perfect” lunchbox for kid’s school lunches is the same as finding the perfect stroller; perfect doesn’t exist so you just try to find the best one out there. I embarrassingly spent a lot of time this summer reviewing several different lunchbox systems before I took the plunge and invested in a Planetbox. Before doing so, we had been using Ziploc bags for a couple of years, and then last year we used the Easy Lunchboxes and the Goodbyn. I wanted more of a bento style system though, so my search began. If you want a quick breakdown of all the most widely used systems by weight, size, and how much each holds, visit Wendolonia’s site, as that’s the first thing I did. For a breakdown of how each works though, with the positives and negatives, read on.
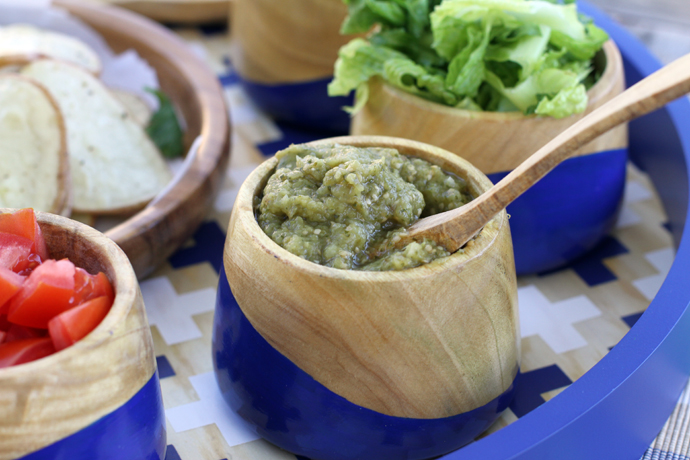
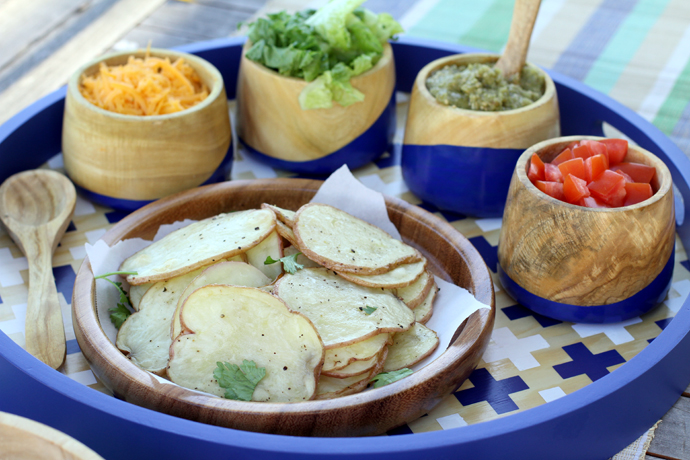
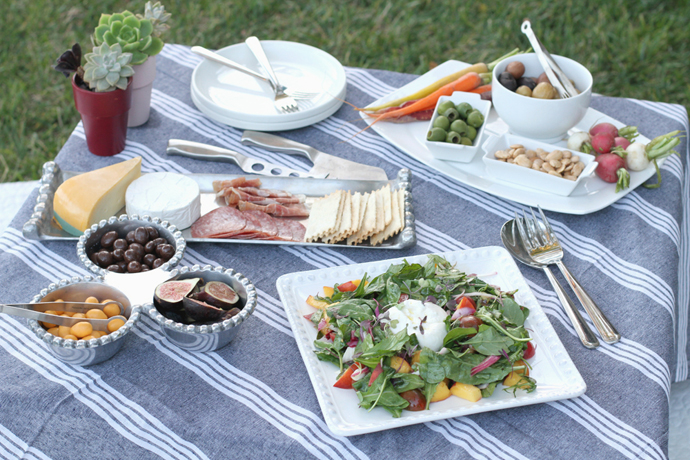
We have 3 systems, and all are great, with the Planetbox leading the pack, followed by Easy Lunchboxes and then the Goodbyn. I try to keep the kid’s lunches simple each day and don’t do elaborate animal faces and other food art, but do go for variety, as I notice the kids eat more and better with a nice variety. No doubt about it, the food just looks more appealing to their senses than a smooshed up sandwich in a bag, even though they may taste the same. I feel like these kids are like pampered royalty sometimes, considering the lunches I grew up with, but since they don’t buy lunch, never have and have zero interest in it, I figure I may as well make the best of the situation. Read on for a review and breakdown of each system.
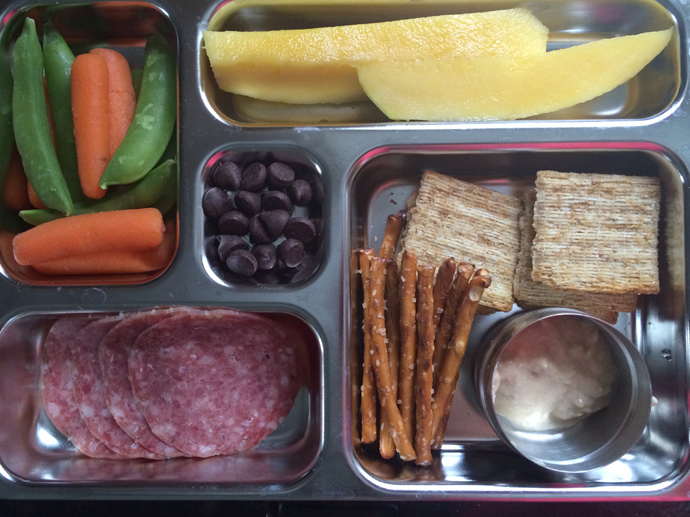
Planetbox Rover
The creme de la creme of lunchboxes, I’ll start with the positives before I give the honest downsides of this behemoth.
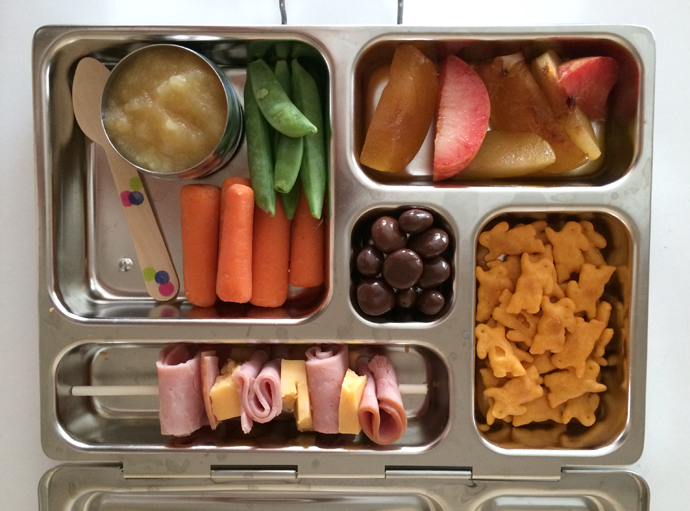
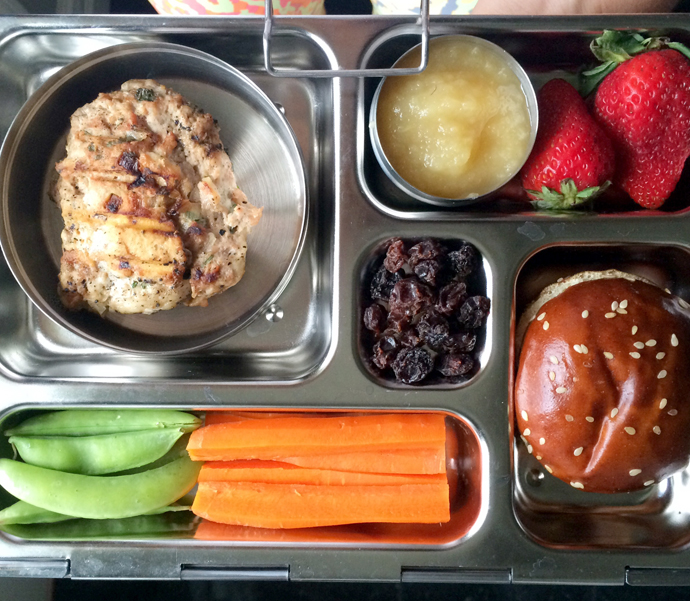
Positives: Made of stainless steel so it lasts for years as confirmed by countless reviews, has no questionable plastics, for those still concerned about non-BPA plastic, essentially good for the planet all around. Compartments are a great portion size for preschool through elementary kids, and larger compartment containers allow for bigger servings for adults, as I found the lunch I packed for myself to be a bit small. The lid pretty much locks everything into place so food doesn’t jumble together, although it makes no claims to be leak-proof. Still, food stays pretty well intact and therefore remains looking nice and fresh, and appealing to kids. I can confirm that my own kids are eating more of their lunches than they ever did before just because the foods don’t touch (Syd has a real issue with this), and they remain looking pretty! Several compartments also means you can offer a lot of variety, which also has a lot to do with why kids tend to eat more. For the most part, the flat and long ice pack sold separately work quite well at keeping the Planetbox nice and cold, and the lunchbox carrier, also sold separately, is pretty slim lined and fits inside both my kid’s small and larger size backpacks.
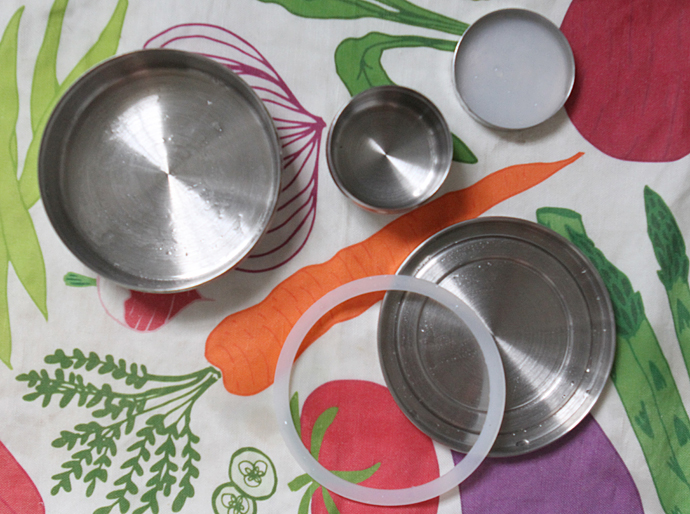
Negatives: The Planetbox is definitely an investment, as it’s pricey. Once you buy the lunch holder and ice pack, you’re in about $60. I tried 3 other standard size lunch pails we have here at home, and none of them fit the odd size of the Planetbox. I’m sure you can search high and low, and find one, but it would probably be large and bulky, so I shelled out the additional $10 for the lunch pail. The thing is heavy too, so if you’ve got really little ones, they may have some trouble transporting the thing! It weighs almost 4 pounds with the food and ice pack inside, which doesn’t seem like a lot, but for little kids it packs a punch. I just had to order Taylor a rolling backpack because in 4th grade she is so bogged down with books she couldn’t carry it all ha! As far as size goes, it is slim lined so they fit into one of our drawers stacked on top of each other, but if space is an issue, this might be a hindrance. The bit and little dippers the Rover comes with are great for separating out foods and limiting “cross contamination” for the really picky kids, but they are awkward and a pain to open, I fumble with them continuously. And they each come with a silicone ring to help keep them somewhat leak proof, and they always manage to fall into the kids food, or I can’t get the dang thing out of the little one especially. If it falls into Syd’s applesauce or hummus, he’s done, won’t touch it, but Taylor doesn’t care.
Overall Review:
While the Planetbox is expensive and bulky, if you can swing it, it’s a great investment, as I have noticed a remarkable difference in how much food my kids eat, and the variety. Clean up, despite the annoying little dipper, is a breeze, and I’m amazed at how cool the food stays, since my kid’s lunches sit outside until lunch time. However, if you’re concerned about cost and price, read below for a couple of other good options.
EasyLunchboxes 
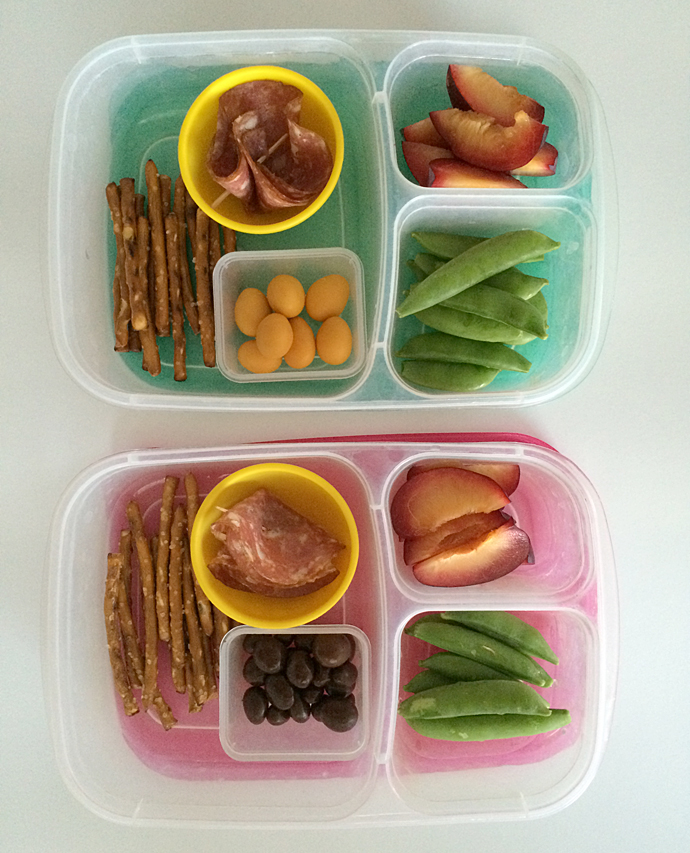
Similar to the Ziploc containers, these are a bit more slim lined and come with different colored lids to help keep track of kid’s lunches, I’ve been very happy with our Easy Lunchboxes and was surprised to see them hold up so well over the school year last year.
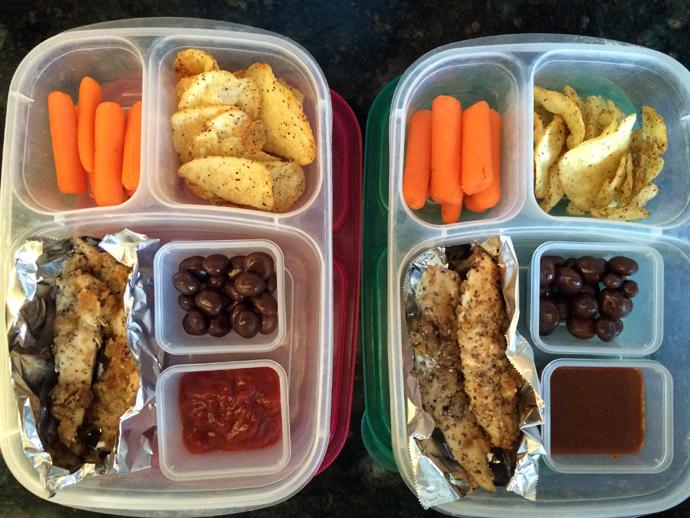
Positives: First off, these containers are affordable, making them a huge plus in my book! I love that these containers are stackable, therefore great if you’ve got limited space. The lids are color-coded, which if you’re packing several kid’s lunches at once, and they all have something different, you can easily keep track of them. There’s not a lot of little compartments, but the one large compartment can easily be modified with inserting silicone baking cups, or the EasyLunchboxes “Mini-Dippers”
 , which at 2.5 ounces, hold a good amount of liquid or a few berries/raisins, etc. The whole system is leak-proof, including the small little dippers, and the lids are really easy to remove, although don’t pop off easily. Because these containers are plastic, I find that they don’t stay quite as cold as I’d like them to, even with an ice pack, so foods like string cheese wither pretty quickly, even in cooler weather, but overall they do okay for regular sandwiches and produce items. Because of the one large compartment, these are also good for adult lunches, making them a nice system for the whole family to share. And as I said above, ours are over a year old and still going strong. Also, all parts are machine washable, top rack only, and they fit into most standard lunch pails.
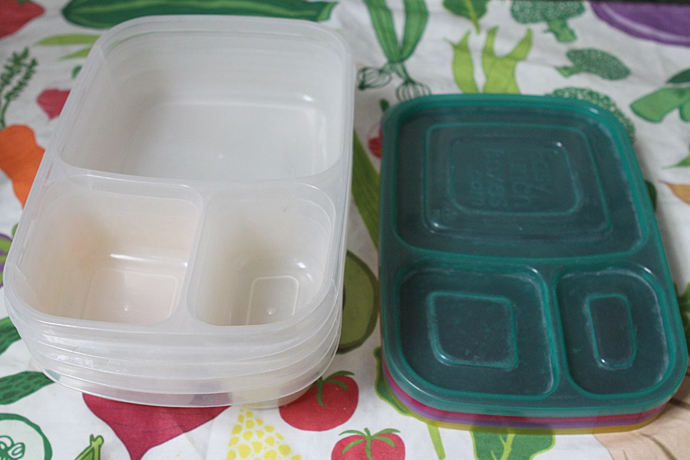 , which at 2.5 ounces, hold a good amount of liquid or a few berries/raisins, etc. The whole system is leak-proof, including the small little dippers, and the lids are really easy to remove, although don’t pop off easily. Because these containers are plastic, I find that they don’t stay quite as cold as I’d like them to, even with an ice pack, so foods like string cheese wither pretty quickly, even in cooler weather, but overall they do okay for regular sandwiches and produce items. Because of the one large compartment, these are also good for adult lunches, making them a nice system for the whole family to share. And as I said above, ours are over a year old and still going strong. Also, all parts are machine washable, top rack only, and they fit into most standard lunch pails.
)
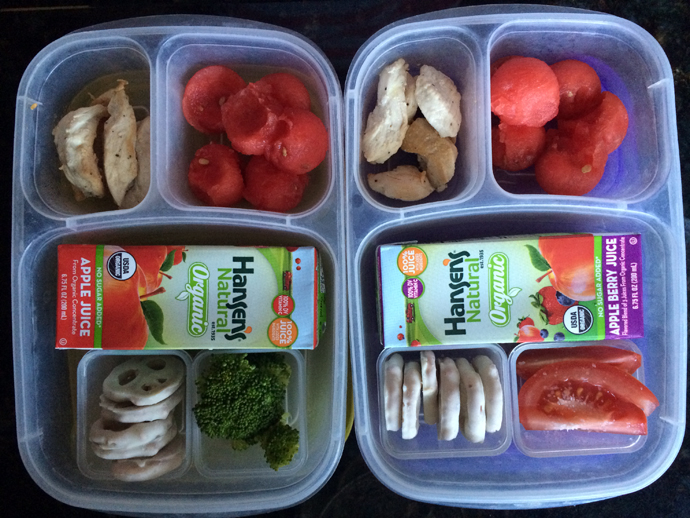
Negatives: While made of BPA free plastic, some may still have some concerns about the plastic breaking down over time, and the plastic can hold the scent of strong smelling foods for a period of time. The only other real drawback for me and these lunchboxes, is that the main compartment is too large, so if I want to pack more of a variety, I have to use a couple of more containers, which is more stuff to wash, but it’s not the end of the world.
Overall Review:
I would say if you’re interested in trying out more bento style lunches, and need some new containers for the family, this is a good place to start, as you can test the waters for not a lot of dough. Make sure to get a set of the EasyLunchboxes “Mini-Dippers” though.
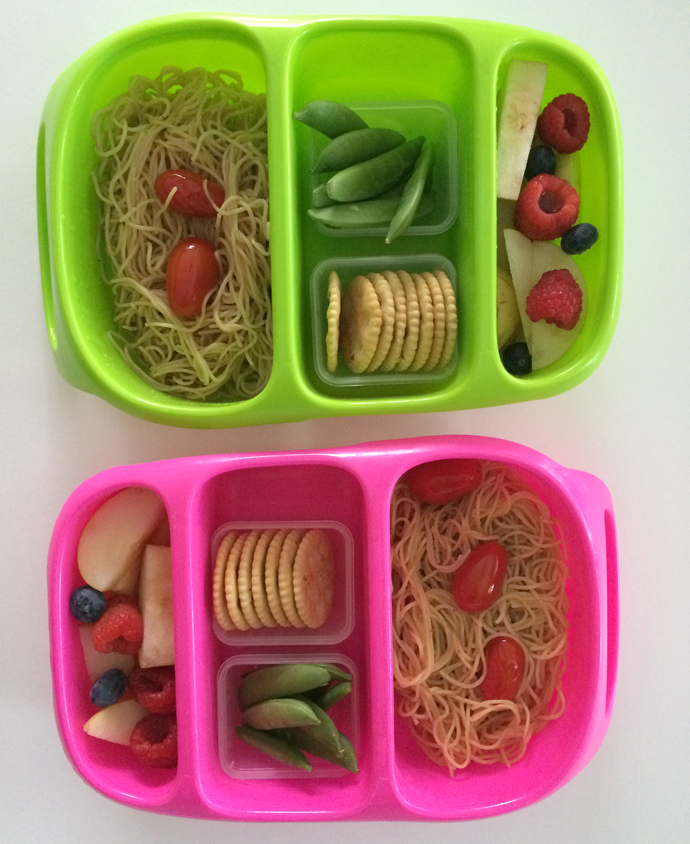
Goodbyn Bynto Food Container
Positives: Brightly colored and made of really sturdy BPA plastic, these are affordable lunch box options for both kids and adults, as the 3 compartment system holds plenty of food. They also sell little Goodbyn Stickers
to help customize each lunchbox, and recently started selling insert containers to make these more of a bento style lunch box. They’ve held up nicely over the last year, although we admittedly don’t use them as much as our other lunch box systems. These are pretty leak-proof, the foods don’t touch and stay in place, and these are dishwasher safe, top rack only.

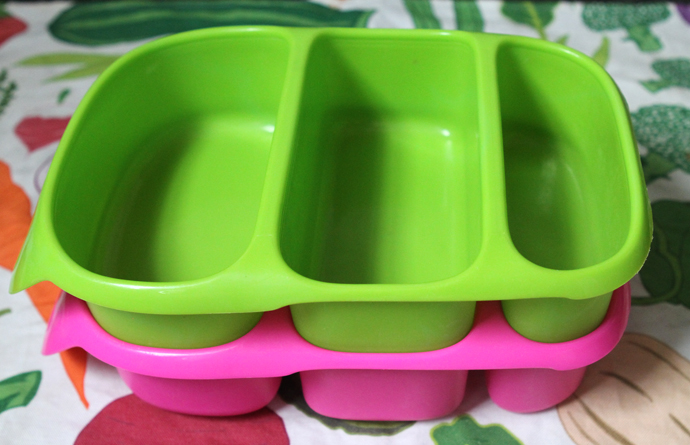
Negatives: The individual containers are pretty large, holding too much food for my kids really. I’ve solved this problem by using separate inserts and such, but it adds up to a lot of washing of little parts. The lids are sort of cumbersome, as they’re hard to really get on good, you need to give them a good push on all sides to get them to pop close. The containers, while they fit into one another, don’t collapse down as you can see, so they aren’t great for saving space, as 2 Goodbyns are taller than 4 Easy Lunchboxes. They are also somewhat big, and while they do fit into our Garnet Hill lunch pails, it’s a tight fit and we can’t squeeze anything else in there, so they may not fit into all lunch pails. I really wanted to love these ones, but I just don’t.
Overall Review:
While many people love this container, it’s not our favorite, but is certainly a sturdy and affordable option, especially for older kids who naturally eat a lot more and don’t care much about a variety of pretty foods all separated in neat little containers.
There’s a myriad of other options out there. The Yumbox Leakproof Bento Lunch Box Container  looks amazing! The original bento style system is affordable, compact and leak-proof, holding a variety of foods for young kids. It holds less than the Planetbox, making it ideal for younger children, but I’ve ordered one just to try it out. Their new Panino system looks great for older kids though.
Overall, the kids love their Planetbox, I just wish it wasn’t so dang heavy and expensive. If you know your kids will love this kind of lunch and have had your eye on the system but have been hesitant, I would say go for it; it’s an investment but it really does make packing lunches kind of fun, if that’s even possible. And the kids actually take a greater interest in packing it than they ever did with our other lunch boxes.
But, if you’re not sure if it would get much use, try a less expensive option like the Easy Lunchboxes or the Yumbox Leakproof Bento Lunch Box Container
. My kids only eat lunch from home, and have never even bought at school, nor do they want to, so we’re in this thing for the long haul, might as well make it fun and as easy as possible.
I hope this review helps and answers a lot of questions, if I’ve missed one, leave a comment and I’ll add it in!


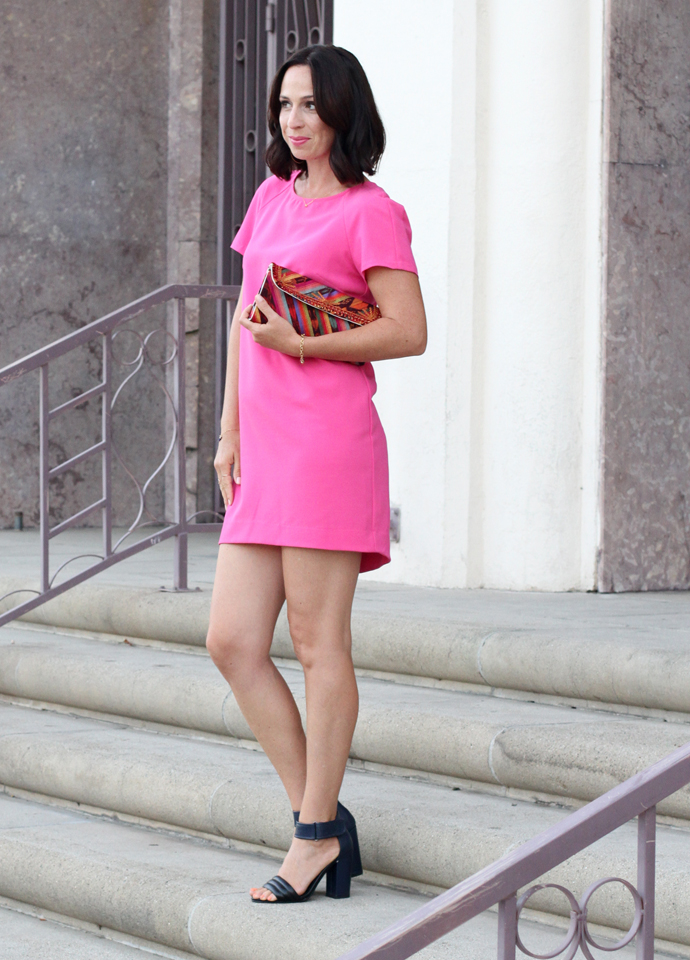
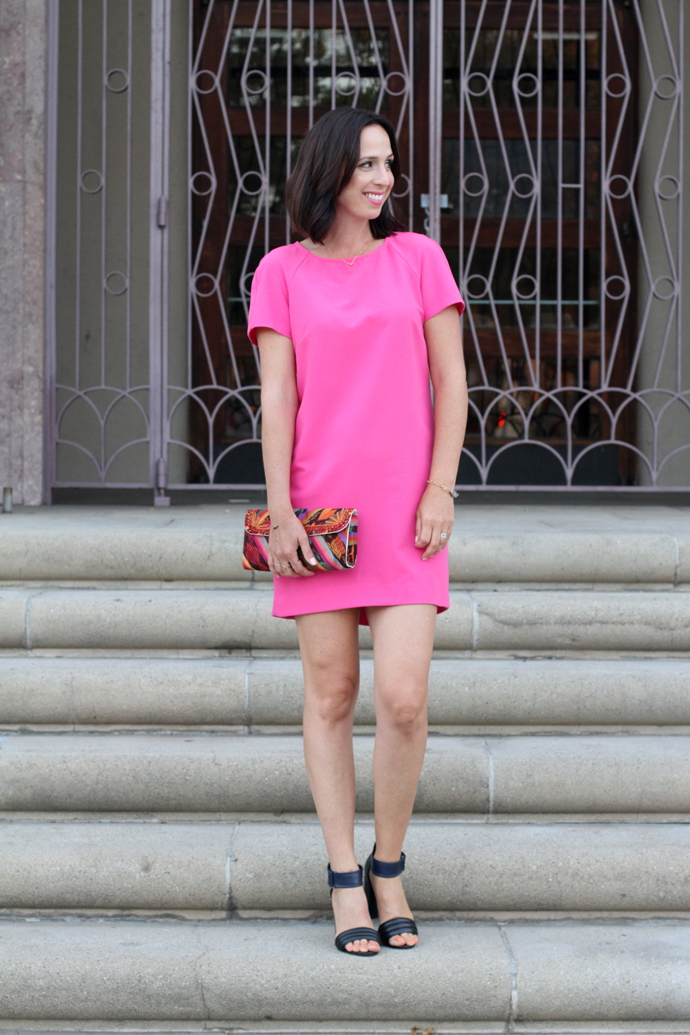
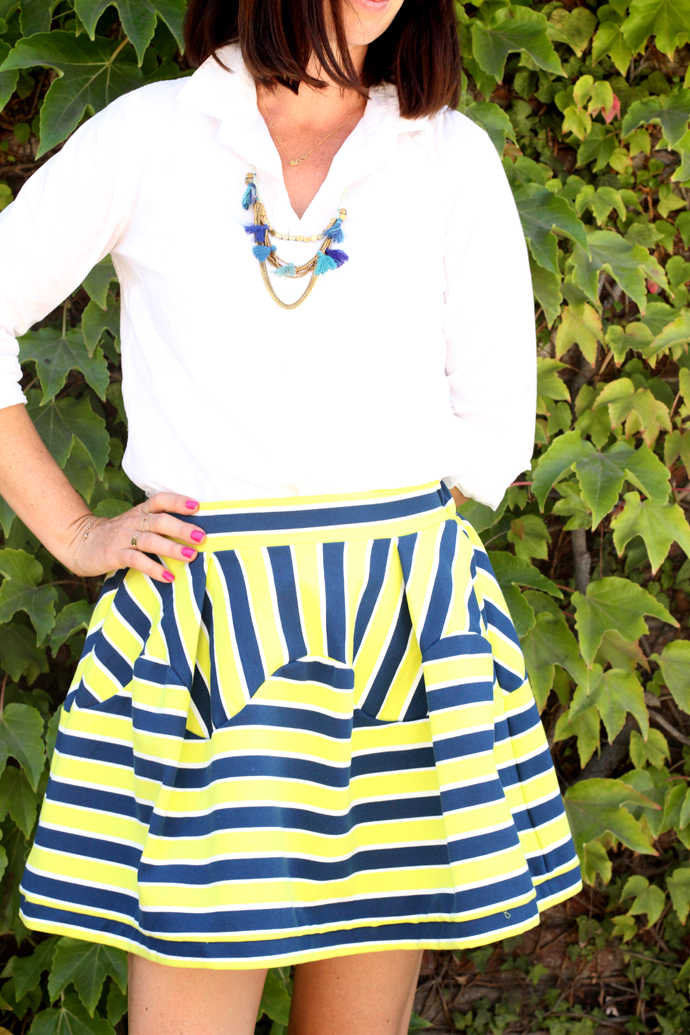 Skirt – Anthropologie; Classic Button-up – J. Crew; Sandals – Red Valentino; Necklace – Anthropologie
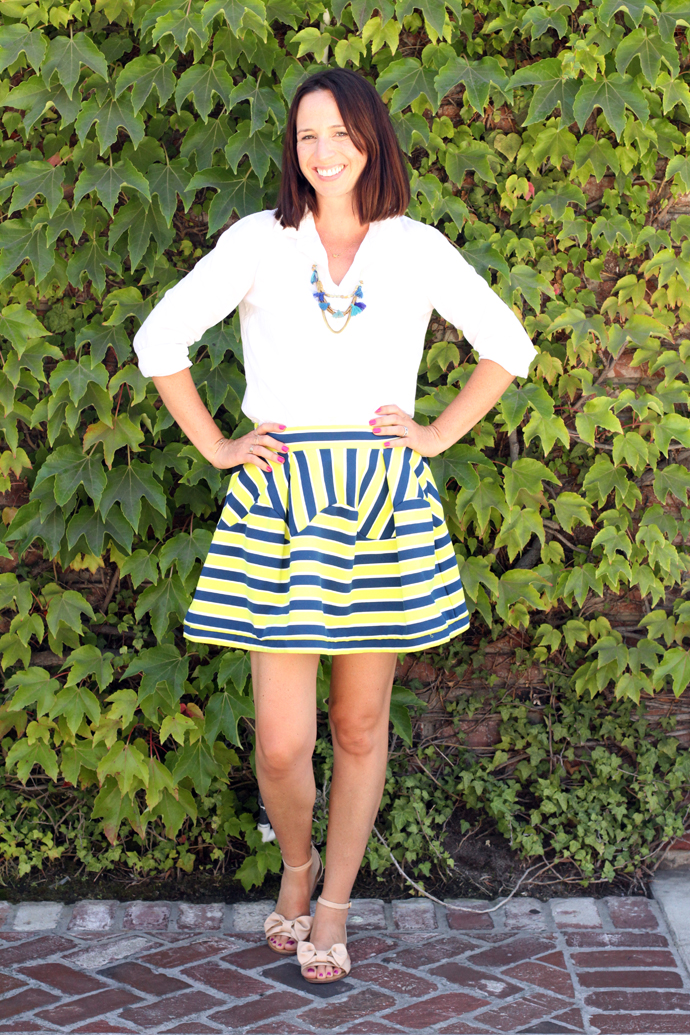
 This means, you may still see me in some short skirts and light sundresses for a few more weeks. Consider it some outfit inspiration for next Summer.
 Hope you all had a great weekend, no matter what your current weather condition may be.